Primary Purpose:
LiveKit CLI is a command-line interface designed to interact with LiveKit, enabling users to perform various operations related to live video and audio applications.
Key Features:
Creating access tokens for secure authentication.
Bootstrapping applications from templates to streamline setup.
Interacting with rooms and participants to manage live interactions.
Managing egresses for recording and streaming purposes.
Conducting load testing to simulate real-world scenarios.
Authenticating with LiveKit Cloud accounts for seamless integration.
Audience & Benefit:
Ideal for developers building live video or audio applications, DevOps engineers managing LiveKit instances, and teams requiring scalable live solutions. The tool enhances efficiency by simplifying tasks like room creation, participant management, and load testing, thereby streamlining workflows and reducing manual effort.
Installation:
LiveKit CLI can be installed via winget for ease of use on supported systems.
This description maintains a professional tone, clarity, and conciseness while highlighting the essential features and benefits without unnecessary hype.
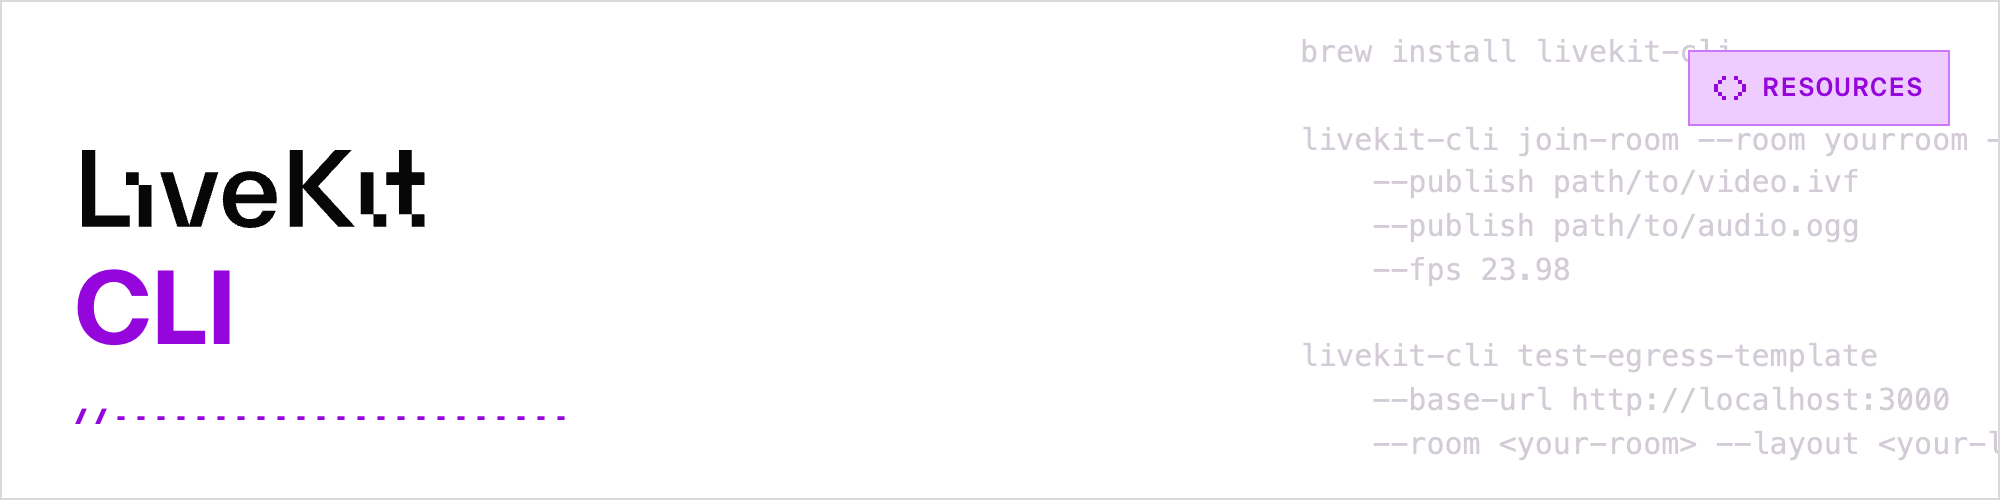
README
LiveKit CLI
This package includes command line utilities that interacts with LiveKit. It allows you to:
Bootstrap new applications from templates
Create access tokens
Access LiveKit APIs, create and delete rooms, etc.
Join a room as a participant, inspecting in-room events
This repo uses Git LFS for embedded video resources. Please ensure git-lfs is installed on your machine.
Every build of lk includes the audio/console subsystem (CGO + PortAudio + WebRTC APM). You will need platform headers/libraries for the C compile:
macOS: nothing to install — CoreAudio frameworks ship with Xcode CLT.
Linux: sudo apt-get install libasound2-dev (or your distro's ALSA dev package).
Then:
git clone https://github.com/livekit/livekit-cli && cd livekit-cli
go build ./cmd/lk
The WebRTC APM C++ requires a Clang-based toolchain (it uses MSVC-style SEH on
Windows). macOS and most Linux distros already use Clang for cgo. To build for
Windows — or to cross-compile for any platform — install
Zig 0.14.1 (used as the Clang C/C++ toolchain)
and run a GoReleaser snapshot build, which sets the
compiler and flags for you:
The quickest way to get started is to authenticate with your LiveKit Cloud account and link an existing project. If you haven't created an account or project yet, head here first. Then run the following:
lk cloud auth
Follow the URL to login in the browser and choose your project to link. When you return to your terminal, you'll have the option to use this project as the default.
When a default project is set up, you can omit url, api-key, and api-secret when using the CLI. You can also set up multiple projects, and temporarily switch the active project used with the --project flag, or persistently using lk project set-default.
Adding a project manually
lk project add --api-key --api-secret
Listing projects
lk project list
Switching defaults
lk project set-default
Bootstrapping an application
The LiveKit CLI can help you bootstrap applications from a number of convenient template repositories, using your project credentials to set up required environment variables and other configuration automatically. To create an application from a template, run the following:
lk app create --template my-app
Then follow the CLI prompts to finish your setup.
For a list of all available templates, run:
lk app list-templates
See the LiveKit Templates Index for details about templates, and for instructions on how to contribute your own.
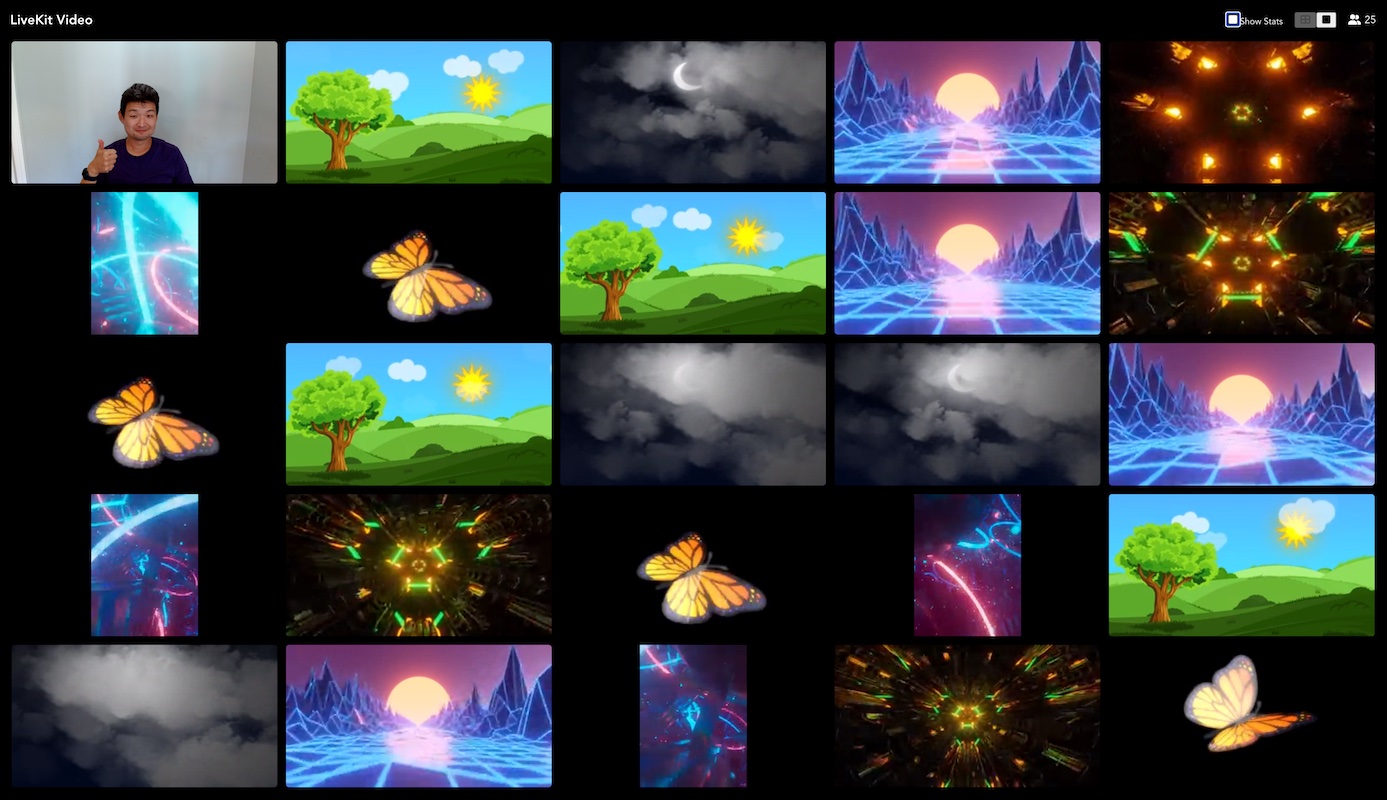
This will publish the pre-encoded .ivf and .ogg files to the room, indicating video FPS of 23.98. Note that the FPS only affects the video; it's important to match video framerate with the source to prevent out of sync issues.
Note: For files uploaded via CLI, expect an initial delay before the video becomes visible to the remote viewer. This delay is attributed to the pre-encoded video's fixed keyframe intervals. Video encoded with LiveKit client SDKs do not have this delay.
Publish from FFmpeg
It's possible to publish any source that FFmpeg supports (including live sources such as RTSP) by using it as a transcoder.
This is done by running FFmpeg in a separate process, encoding to a Unix socket. (not available on Windows).
lk can then read transcoded data from the socket and publishing them to the room.
You should now see both video and audio tracks published to the room.
Note: To publish H.265/HEVC over sockets, use the h265:// scheme (for example, h265:///tmp/myvideo.sock or h265://127.0.0.1:16400). Ensure your LiveKit deployment and clients support H.265 playback.
Publish from TCP (i.e. gstreamer)
It's possible to publish from video streams coming over a TCP socket. lk can act as a TCP client. For example, with a gstreamer pipeline ending in ! tcpserversink port=16400 and streaming H.264.
You can publish multiple H.264 or H.265 video tracks from different TCP ports as a single Simulcast track. This is done by using multiple --publish flags.
The track will be published in simulcast mode if multiple --publish flags with the syntax ://:/x are passed in as arguments, where `` is h264 or h265. All layers must use the same codec.
Example:
Use Gstreamer to scale a video input to 3 resolutions (1920x1080, 1280x720, 640x360), encode each as a H.264 stream and output each H.264 stream on a different port using tcpserversink.
# Note: this is just an example of a Gstreamer pipeline structure
# It uses a `tee` element to split the raw frame input to 3 pipelines for
# scaling to a specific resolution then encoding to H.264 byte stream.
gst-launch-1.0 -e -v \
  v4l2src device= \
  tee name=t  \
  t. !  ! \
      tcpserversink host=0.0.0.0 port=5005 sync=false async=false \
  t. !  ! \
      tcpserversink host=0.0.0.0 port=5006 sync=false async=false \
  t. !  ! \
      tcpserversink host=0.0.0.0 port=5007 sync=false async=false
Use livekit-cli to publish the 3 resolution streams to a single Simulcast track.
LiveKit CLI can publish simulcast tracks using H.264 or H.265. Ensure your LiveKit deployment and clients support the chosen codec (HEVC/H.265 support varies by platform/browser).
You can only use multiple --publish flags to create a simulcast track.
Using more than 1 --publish flag for other types of streams will not work.
Tracks will automatically be set to HIGH/MED/LOW resolution based on the order of their width.
If only 2 tracks are published, they will be published as HIGH and LOW resolution layers.
Publish streams from your application
Using unix sockets, it's also possible to publish streams from your application. The tracks need to be encoded into
a format that WebRTC clients could playback (VP8, H.264, H.265, and Opus).
Once you are writing to the socket, you could use ffplay to test the stream.
In order to speed up the development cycle of your recording templates, we provide a sub-command test-egress-template that
helps you to validate your templates.
The command will spin up a few virtual publishers, and then simulate them joining your room
It'll then open a browser to the template URL, with the correct parameters filled in.
The above simulates 5 concurrent speakers, each playing back a pre-recorded audio sample at the same time.
In a meeting, typically there's only one active speaker at a time, but this can be useful to test audio capabilities.
This will open Meet, a video conferencing example app, and join the simulated room. Alternatively, you can omit the --open parameter, visit the site and paste in the token yourself.
Running on a cloud VM
Due to bandwidth limitations of your ISP, most of us wouldn't have sufficient bandwidth to be able to simulate 100s of users download/uploading from the internet.
We recommend running the load tester from a VM on a cloud instance, where there isn't a bandwidth constraint.
To make this simple, make will generate a linux amd64 binary in bin/. You can scp the binary to a server instance and run the test there.
Configuring system settings
Prior to running the load tests, it's important to ensure file descriptor limits have been set correctly. See Performance tuning docs.
On the machine that you are running the load tester, they would also need to be applied:
You can customize various parameters of the test such as
--video-publishers: number of video publishers
--audio-publishers: number of audio publishers
--subscribers: number of subscribers
--video-resolution: publishing video resolution. low, medium, high
--no-simulcast: disables simulcast
--num-per-second: number of testers to start each second
--layout: layout to simulate (speaker, 3x3, 4x4, or 5x5)
--simulate-speakers: randomly rotate publishers to speak
Agent load testing
The agent load testing utility allows you to dispatch a running agent to a number of rooms and simulate a user in each room that would echo whatever the agent says.
> Note: Before running the test, ensure that:
> - Your agent is already running using start instead of dev with the specified agent_name configured
> - The agent is configured to speak something first (e.g., a simple greeting)
The above simulates 5 concurrent rooms, where each room has:
Your agent test-agent dispatched
An echo participant that receives and plays back the agent's audio
A 10-second delay in the echo response from the agent speech
The test runs for 5 minutes before automatically stopping
Once the specified duration is over (or if the load test is manually stopped), the load test statistics will be displayed in the form of a table.
Browsing documentation
The CLI includes a built-in lk docs command that lets you search and browse the LiveKit documentation directly from the terminal. It's powered by the LiveKit docs MCP server using the official MCP Go SDK.
# Get a complete overview of the docs site
lk docs overview

# Search the docs
lk docs search "voice agents"

# Fetch a specific page as markdown
lk docs get-page /agents/start/voice-ai-quickstart

# Search code across LiveKit GitHub repos
lk docs code-search "class AgentSession" --repo livekit/agents

# Get recent releases for an SDK
lk docs changelog pypi:livekit-agents

# List all LiveKit SDKs
lk docs list-sdks

# Submit feedback on the docs
lk docs submit-feedback --page /agents/build/tools "Missing info about error handling"
Run lk docs --help for full details on each subcommand.
Development options
For development against staging or preview deployments of the docs MCP server, two hidden flags are available on the lk docs command:
--server-url URL: Override the MCP server endpoint (default: https://docs.livekit.io/mcp/)
--vercel-header VALUE: Set the x-vercel-protection-bypass header, required for accessing private Vercel preview deployments
# Use a staging server
lk docs --server-url https://docs-staging.example.com/mcp/ search "agents"

# Access a private Vercel preview deploy
lk docs --server-url https://docs-abc123.vercel.app/mcp/ --vercel-header  overview
Additional notes
Parameter precedence
CLI commands support various ways to set some parameters, including via environment variables, local configuration files, and command line flags. The precedence order is as follows:
Local configuration files (by default ./livekit.toml, override with --config)
Default project configuration (set with lk project set-default)
If you have multiple projects configured, you can specify which project to use with the --project flag. This will override the default project for that command only.
Template strings
Some command parameters support template strings, which are substituted with real values at runtime. This is useful for generating unique identities and room names, or tagging entities with timestamps and other metadata. Supported template strings include:
%t: Compact timestamp ("20250702150405")
%T: ISO 8601 timestamp ("2025-07-02T15:04:05Z07:00")
%Y: Year ("2025")
%m: Month ("07")
%d: Day of the month ("02")
%H: Hour ("15")
%M: Minute ("04")
%S: Second ("05")
%x: Random 6-character hexadecimal string ("a1b2c3")
%U: Current user ("username")
%h: Current hostname ("my-computer.local")
%p: Current PID ("12345")
For example, you can use the following command to generate a token whose identity is your current user@hostname, and a room with a random suffix:
This project shares the same Major and minor version as server-sdk-go for compatibility. The livekit-cli must always import server-sdk-go with matching major and minor versions. When introducing breaking changes to server-sdk-go, increment its minor version and update livekit-cli to use the new version, releasing a matching CLI version accordingly.