Azure IoT Explorer Preview is a cross-platform user interface tool designed to interact with devices connected to Azure IoT Hub, enabling developers and solution architects to efficiently manage, monitor, and command IoT devices in a learning or testing environment.
Key Features:
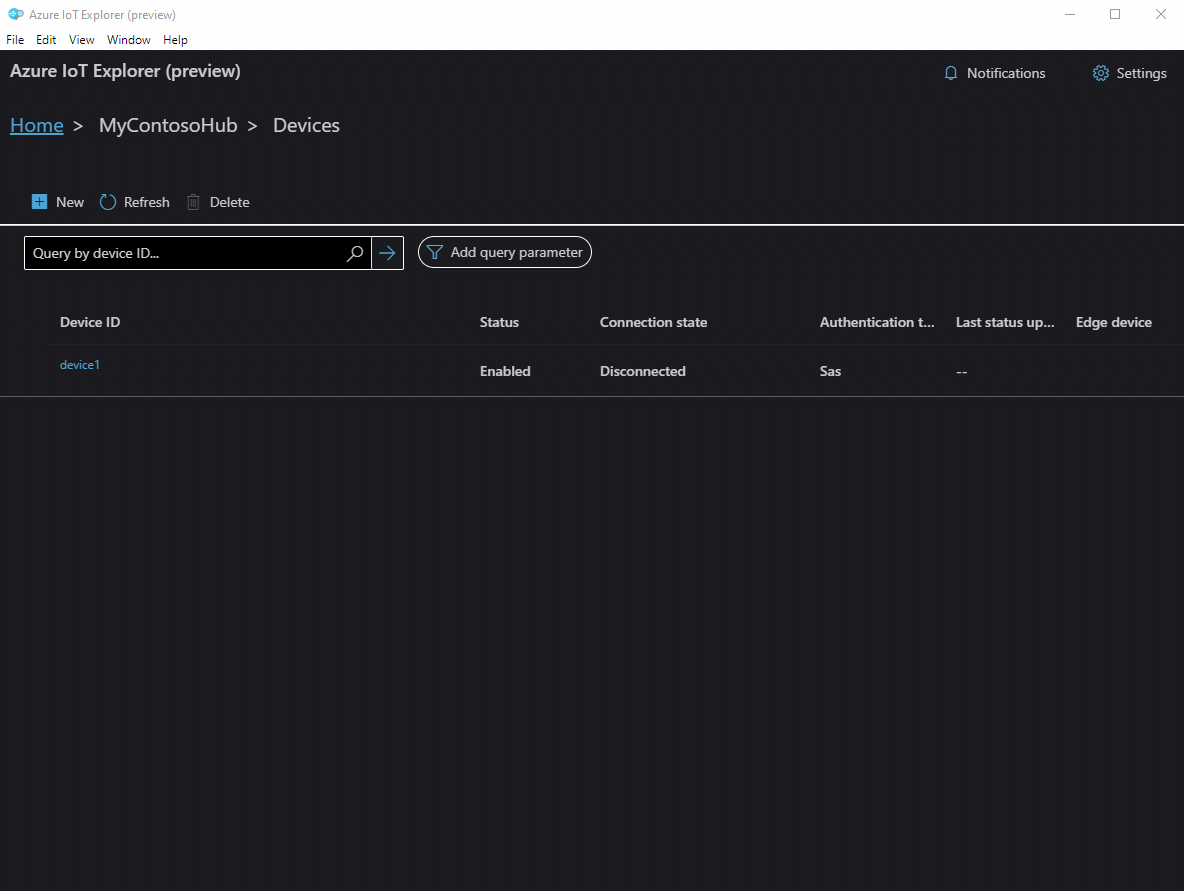
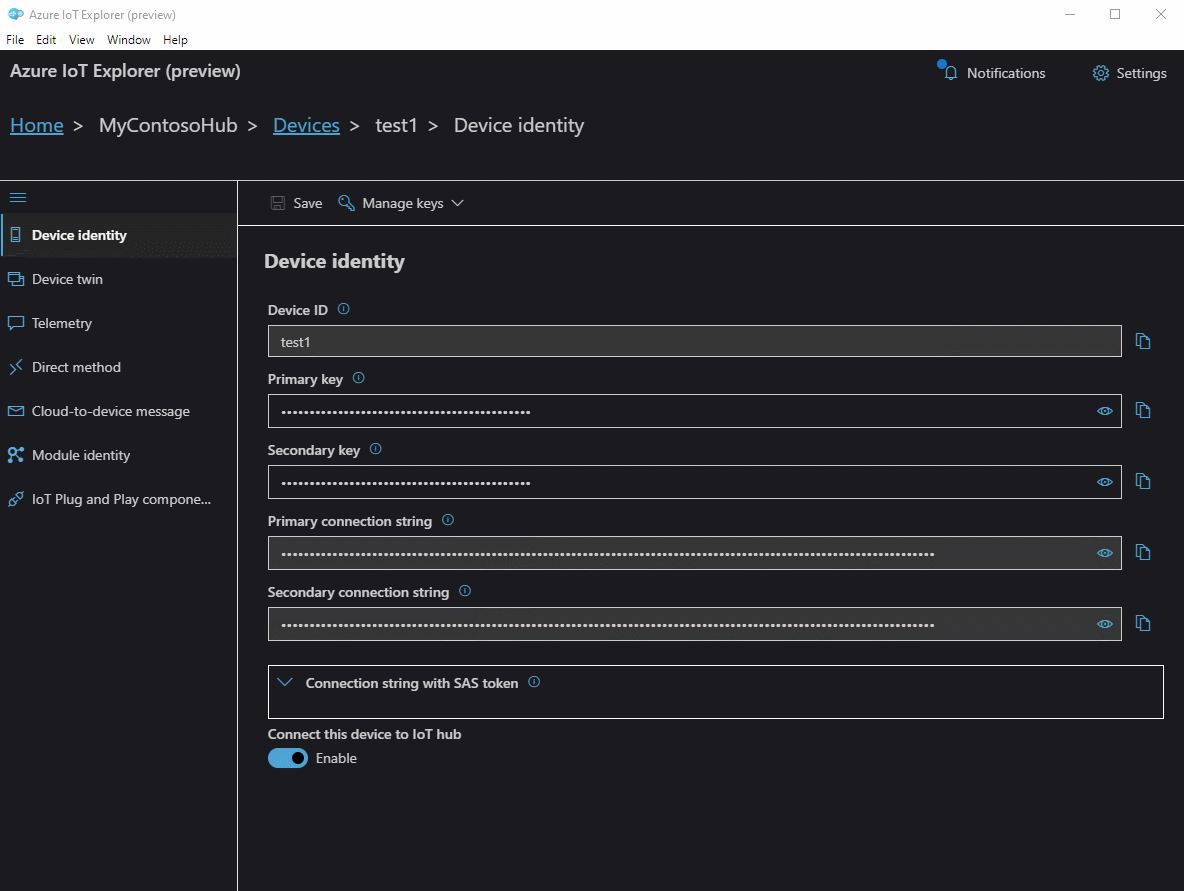
Device Management: Easily connect, configure, and manage IoT devices across multiple platforms.
Monitoring Capabilities: Real-time monitoring of device telemetry data for insights and decision-making.
Command Execution: Send direct methods to devices, allowing for immediate actions and troubleshooting.
Configuration Updates: Modify device configurations remotely to test scenarios without physical access.
Cross-platform Support: Works seamlessly across Windows, macOS, and Linux environments.
Integration with Azure Services: Leverage Azure IoT Hub features such as device twins, jobs, and routing.
Audience & Benefit:
Ideal for developers, solution architects, and IoT enthusiasts seeking a user-friendly interface to test and validate IoT scenarios. By providing efficient device interaction and monitoring capabilities, Azure IoT Explorer Preview enhances productivity and simplifies the development of scalable IoT solutions. It can be installed via winget for quick setup.
README
> [!NOTE]
> This repository is not actively maintained.
>
> While the project remains available for use, all active development has stopped. Community contributions and critical fixes might still be considered.
You can either download a pre-built version or build it yourself.
Download a pre-built version
Go to the Releases tab, download the installer corresponding to your platform and install.
Run it locally and build it yourself
Open a Node capable command prompt
Clone the repo: git clone https://github.com/Azure/azure-iot-explorer.git
Run: npm install
Run: npm start
A new tab in your default browser will be opened automatically pointing to the locally running site.
[optional] Stop step 4 then run: npm run build and then run: npm run electron.
The electron app will spin up using the bits generated in the dist folder.
If you'd like to package the app yourself, please refer to the FAQ.
Features
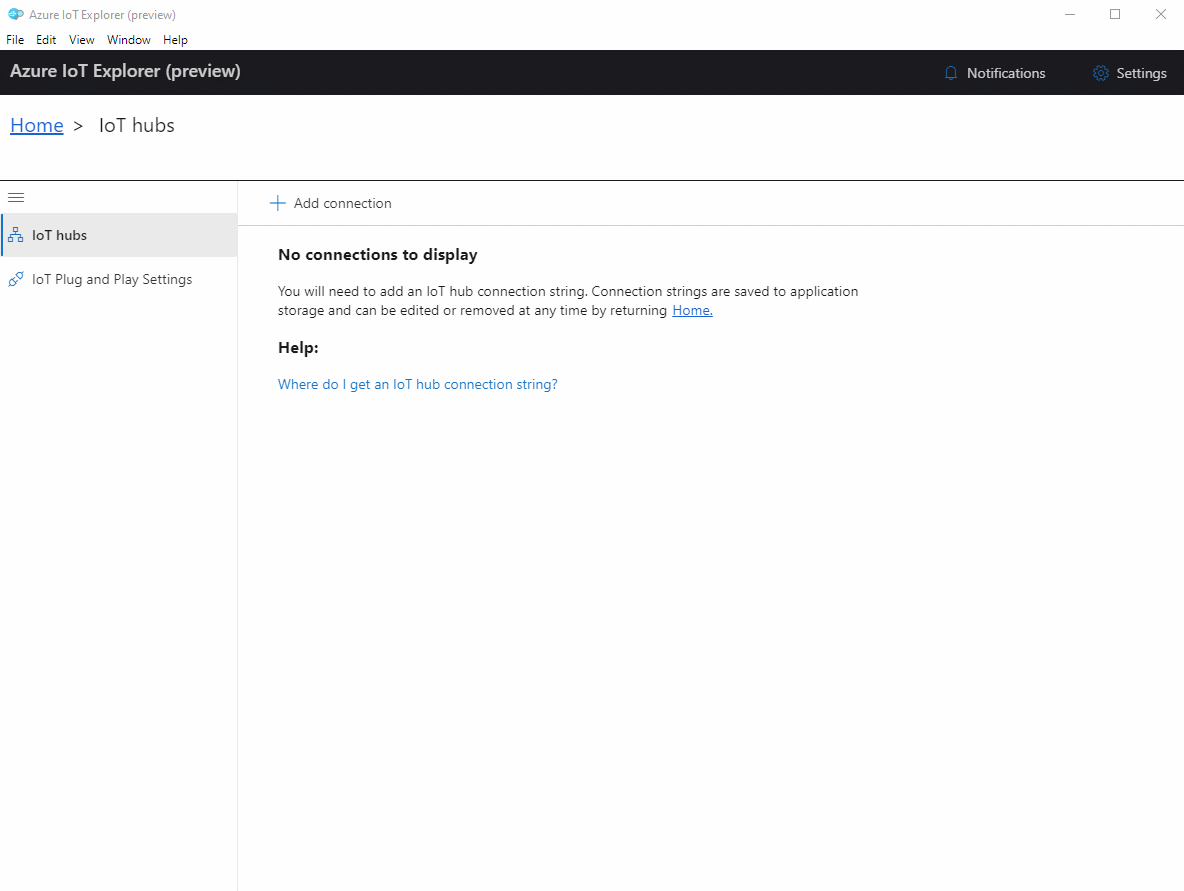
Configure an IoT Hub connection
Upon opening the application, choose an authentication method and connect to an Azure IoT hub.
If you picked Connect via IoT Hub connection string, you can add multiple strings, view, update or delete them anytime by returning to Home.
If you picked Connect via Azure Active Directory, you will be redirected to login in through AAD, from where you will be able to pick a subscription, and then pick an IoT hub.
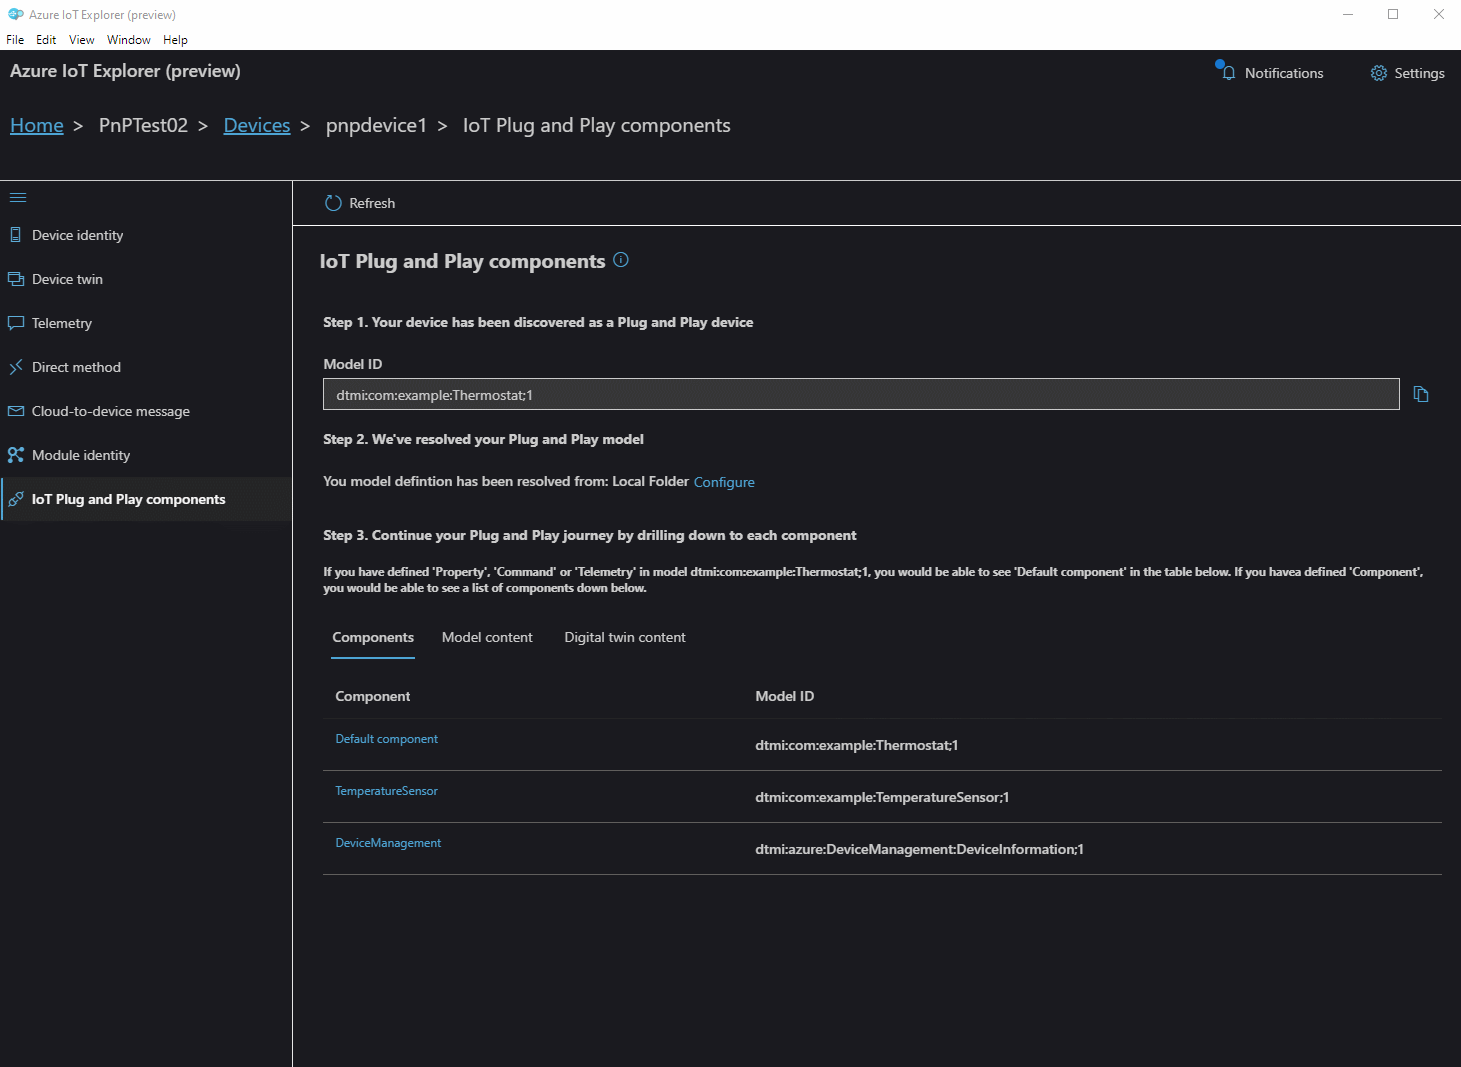
If you are looking for a UI tool to get a flavor of Plug and Play, look no futher. Follow this Microsoft Docs to get started.
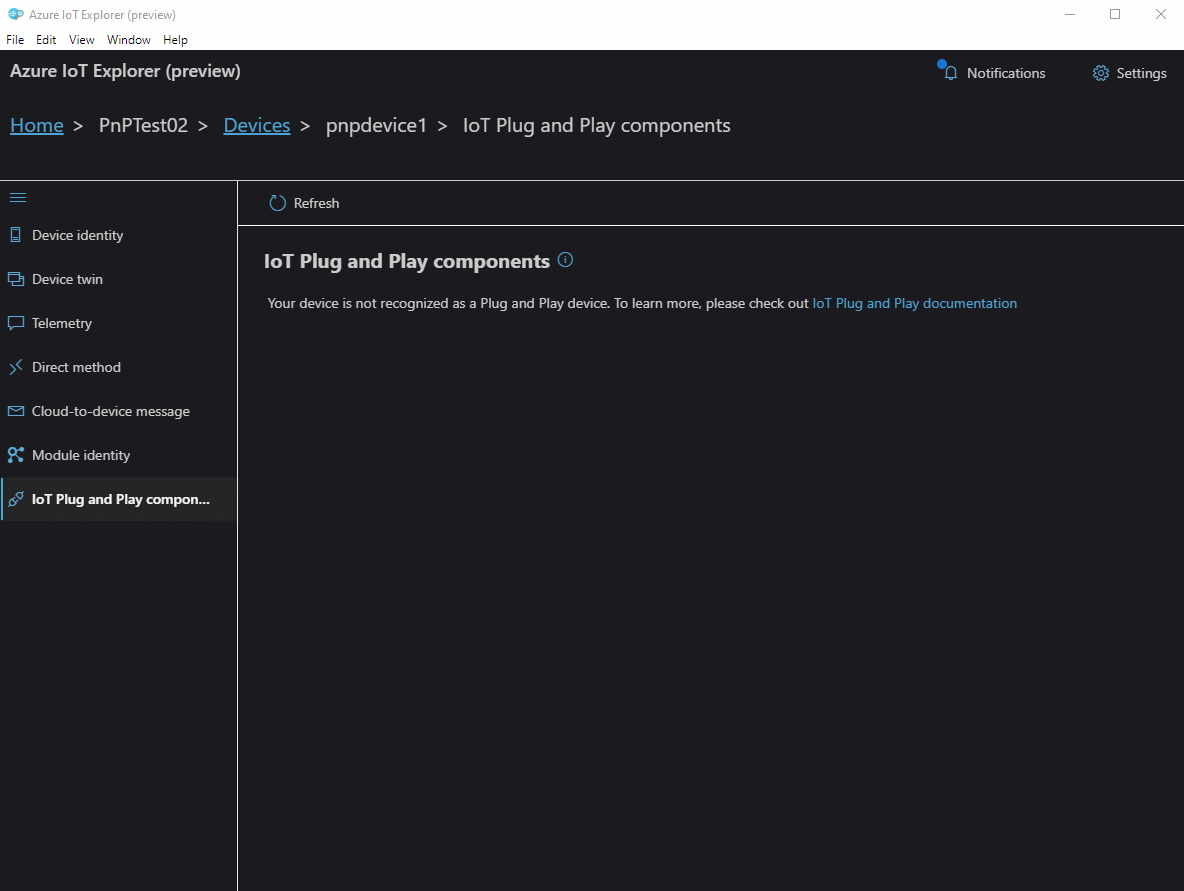
Once your device has gone through discovery, IoT Plug and Play components page would be available on device details view.
The model ID would be shown.
Follow our guidance to set up how we can retrieve model definitions. If it is already setup, We will inform you where are we resolving your model definitions from.
A table would show the list of components implemented by the device and the corresponding interfaces the components conform to.
You can go back to Home (either from device or by directly clicking the breadcrumb) to change how we resolve model definitions. Note this is a global setting which would affect across the hub.
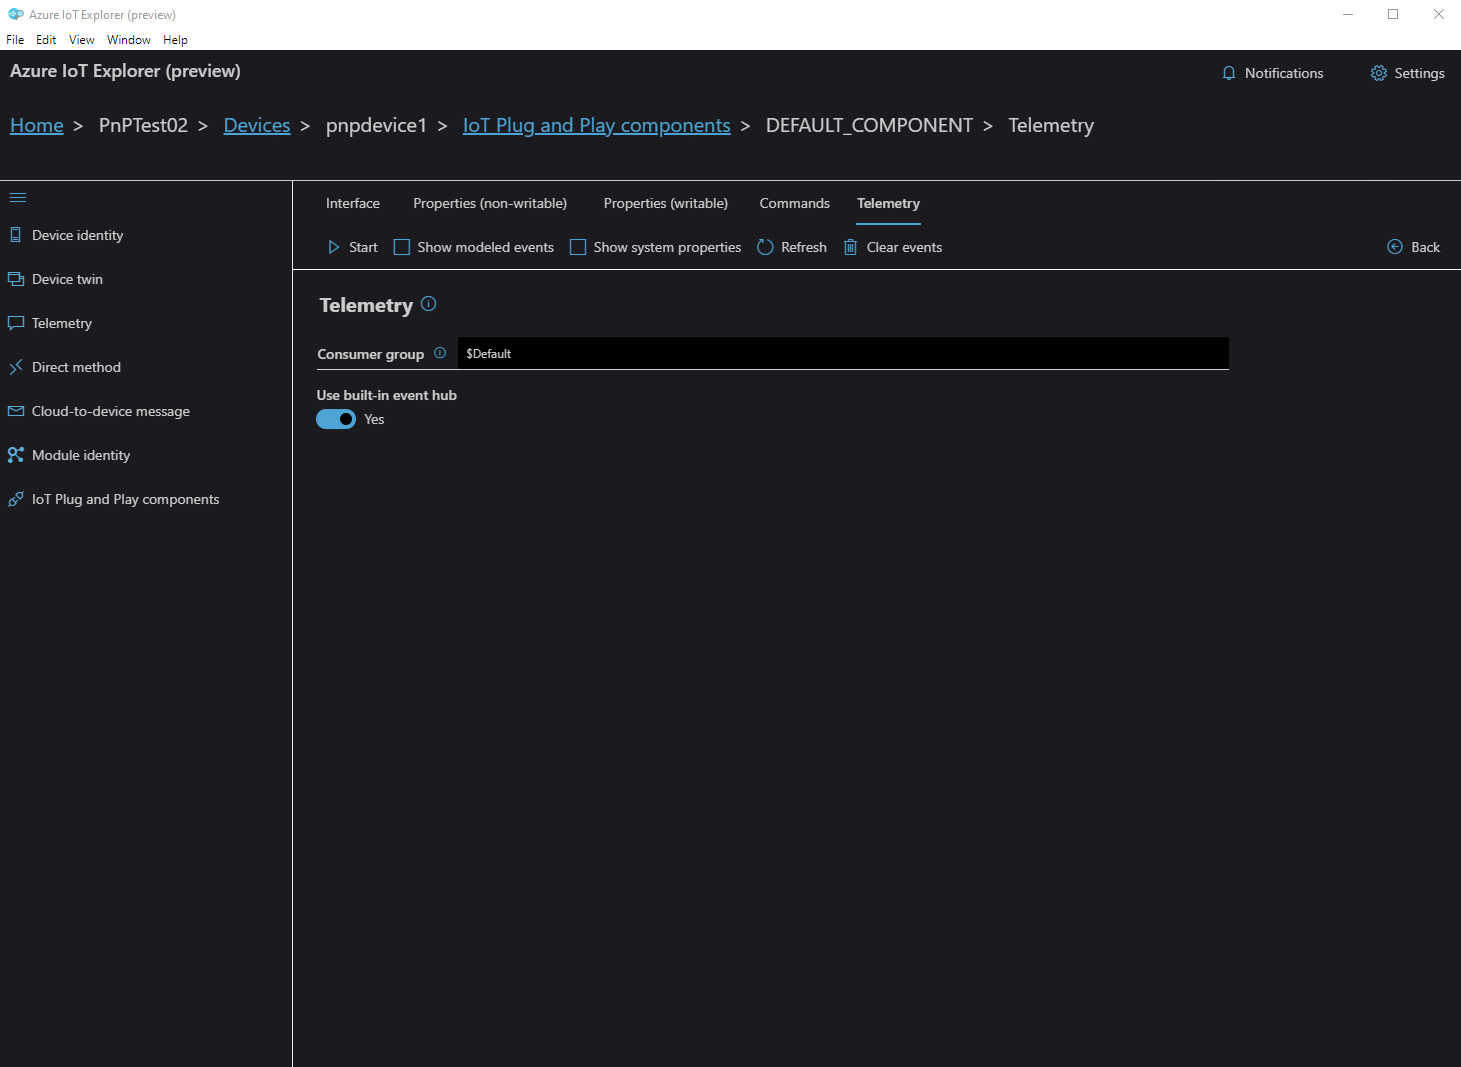
Click the name of any component, and switch between interface, properties, commands and telemetry to start interacting with the PnP device.
Contributing
This project welcomes contributions and suggestions. Most contributions require you to agree to a
Contributor License Agreement (CLA) declaring that you have the right to, and actually do, grant us
the rights to use your contribution. For details, visit https://cla.opensource.microsoft.com.
When you submit a pull request, a CLA bot will automatically determine whether you need to provide
a CLA and decorate the PR appropriately (e.g., status check, comment). Simply follow the instructions
provided by the bot. You will only need to do this once across all repos using our CLA.