Raspberry Pi Imager is a versatile tool designed to simplify the process of installing Raspberry Pi OS and other operating systems onto microSD cards, ensuring they are ready for use with your Raspberry Pi.
Key Features:
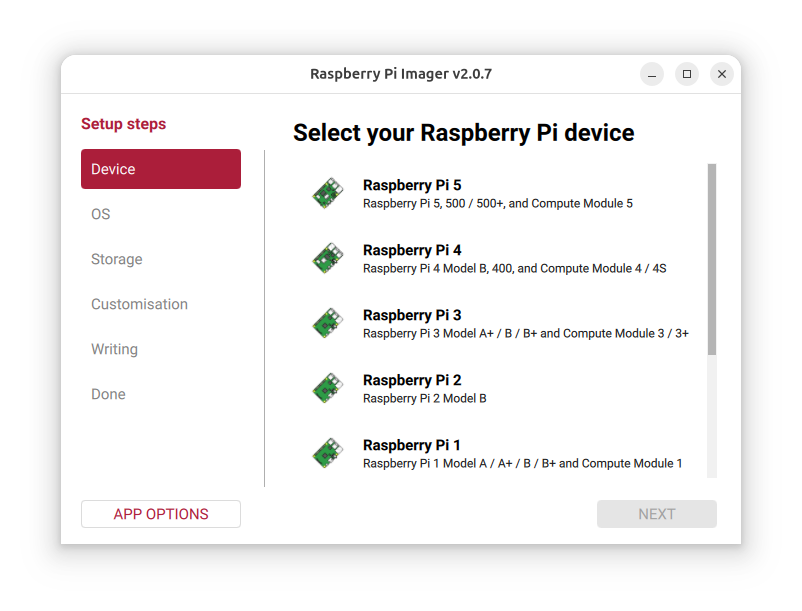
User-Friendly Interface: Intuitive design that streamlines the installation process.
Multiple OS Support: Easily install Raspberry Pi OS or other compatible operating systems.
Validation Checks: Verifies card compatibility and ensures error-free installations.
Batch Operations: Supports installing multiple copies of an OS on different cards simultaneously.
Audience & Benefit:
Ideal for Raspberry Pi users, educators, developers, and hobbyists looking to quickly set up their devices without technical hassles. By automating the installation process, Raspberry Pi Imager saves time and reduces the risk of errors, making it a reliable choice for both beginners and experienced users. It can be installed via winget for easy setup on compatible systems.
README
Raspberry Pi Imager
Raspberry Pi Imaging Utility
To install on Raspberry Pi OS, use sudo apt update && sudo apt install rpi-imager.
To build Raspberry Pi Imager from source-code, see our separate instructions in CONTRIBUTING.md
Other notes
Custom repository
If the application is started with "--repo [your own URL]" it will use a custom image repository.
So can simply create another 'start menu shortcut' to the application with that parameter to use the application with your own images.
Anonymous metrics (telemetry)
Why and what
In order to understand usage of the application (e.g. uptake of Raspberry Pi Imager versions and which images and operating systems are most popular), Raspberry Pi Imager collects anonymous metrics (telemetry) by default. These metrics are used to prioritise and justify work on the Raspberry Pi Imager, and contain the following information:
The URL of the OS you have selected
The category of the OS you have selected
The observed name of the OS you have selected
The version of Raspberry Pi Imager
A flag to say if Raspberry Pi Imager is being used on the Desktop or as part of the Network Installer
The host operating system version (e.g. Windows 11)
The host operating system architecture (e.g. arm64, x86_64)
The host operating system locale name (e.g. en-GB)
If the Raspberry Pi Imager is being run a part of the Network Installer, Imager will also collect the revision of Raspberry Pi it is running on.
Where is it stored
This web service is hosted by Heroku and only stores an incrementing counter using a Redis Sorted Set for each URL, operating system name and category per day in the eu-west-1 region and does not associate any personal data with those counts. This allows us to query the number of downloads over time and nothing else.