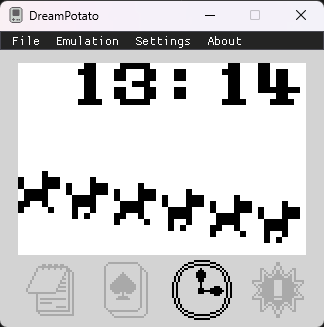
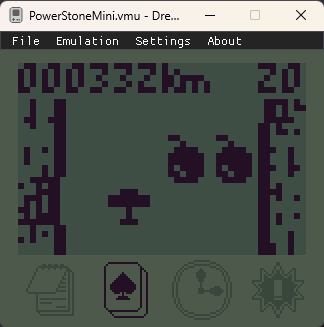
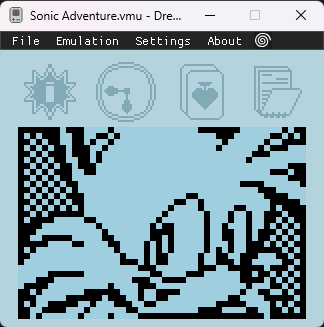
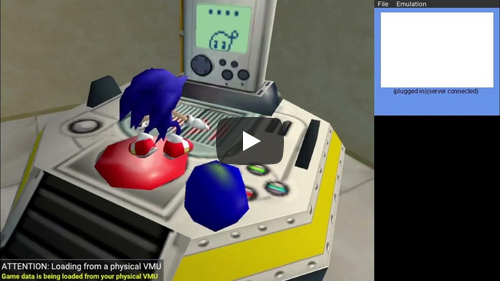
DreamPotato is a Dreamcast VMU emulator designed to provide an authentic experience for users to interact with VMU (Visual Memory Unit) content. Currently in beta, this software allows enthusiasts to emulate and explore the functionality of VMUs, including loading games, managing saves, and experimenting with homebrew projects.
Key Features:
Flycast Integration: Enables seamless connection with Flycast, a popular Dreamcast emulator, to replicate the experience of using a real VMU alongside a Dreamcast console.
Save/Load State Support: Users can save progress or load states within games, ensuring their work is preserved without altering original files.
Multiple VMU Slots: Supports managing multiple VMUs simultaneously, allowing for flexibility in testing and experimentation.
Audience & Benefit:
Ideal for retro gaming enthusiasts, developers working on Dreamcast homebrew projects, and collectors looking to preserve or explore VMU content. With DreamPotato, users can access VMU functionality without requiring physical hardware, making it a practical tool for both casual exploration and serious development efforts.
Installable via winget, this emulator is designed with ease of use in mind, while still offering advanced features for those deeply involved in the Dreamcast community.
See compatibility.md for the current compatibility status of various games.
Hollycast Integration
DreamPotato can connect to Hollycast to support an experience similar to using a real Dreamcast and VMU together.
Instructions:
Download the Hollycast release, which has compatible versions of Hollycast + DreamPotato to use together. Make sure the two apps are kept in the same folder.
Open the Hollycast controller settings. Pick DreamPotato as the expansion device type for the desired ports/slots. (i.e. use "DreamPotato" instead of "Sega VMU".)
Settings Use External VMU Memory and DreamPotato Integrated Mode are enabled by default. They should be left enabled for best results.
Hit "Done". DreamPotato should launch automatically. You should see the swirl icon in the DreamPotato menu bar indicating things are connected.
If you get disconnected, you can close DreamPotato if needed, and open/close the settings page to relaunch it.
Additional notes/caveats:
DreamPotato does not play sound while docked to a controller. You should leave the Hollycast VMU sound setting enabled if you want that. (DreamPotato does play sound in standalone mode.)
You can use DreamPotatoes with as many slots/ports as you want. A separate window will open for each port.
Usage
Download the latest bits from the Releases section.
> [!NOTE]
> When opening a .vmu or .bin file, the emulator will modify the file on disk while running in order to persist changes, such as save file changes on the memory card, saving your progress in minigames, or when using the Load State command.
> .vms files opened in the emulator will not be modified.
Default Key Mappings
W - Up
A - Left
S - Down
D - Right
K - A
L - B
I - Mode
J - Sleep
Insert - Dock/Eject VMU to Dreamcast controller
You can also hold the Sleep button for 1 second to toggle docking/ejecting the VMU.
F5 - Save State
F8 - Load State
F10 - Pause/Resume
Tab (hold) - Fast Forward
Open Folder
DreamPotato has "Open Folder" and "Save As Folder" commands inspired by the "GCI Folder" support in Dolphin. When a folder is opened, DreamPotato loads all the .vmi/.vms files found in it. When the VMU's file contents change during gameplay, DreamPotato will automatically update the corresponding files in the folder.
Notes:
"Save As Folder" is a convenient way to extract individual .vmi/.vms saves from your .vmu/.bin memory card file.
You can rename the .vmi/.vms file pairs whatever you want, as long as the filenames match. DreamPotato will continue to pick them up and the on-VMU filenames will be preserved.
For example, if I have S.ARCADIA001.vms and S.ARCADIA001.vmi files for Skies of Arcadia, I could rename them to My file.vms and My file.vmi, and the game will continue to recognize them as an S.ARCADIA001 file on the VMU.
You can put any non-.vmi/.vms items in the folder you want and DreamPotato will ignore them.
DreamPotato doesn't watch the opened folder, so if you manually make changes in it, you need to reopen the folder in DreamPotato for the changes to get picked up.
It's recommended to "Save As Folder" to a folder which doesn't already contain any .vmi/.vms files in it. If you do, files might get overwritten, or other conflicts could occur in the folder, which you'll have to clean up manually.
fs_root.bin contains file system metadata as well as the VMU's color and icon (for display in the Dreamcast BIOS). If you delete it, it will be re-created with default settings.
Configuration
General configuration options include:
AutoInitializeDate: bool, default true. If true, skips the startup beep and date setup, and uses your computer's clock to initialize the VMU's clock. Specify false if you want to use the date setup sequence as you would when installing batteries with real hardware.
AutoDockEject: bool, default true. If true, automatically docks the VMU when Flycast is connected, and ejects it when Flycast is disconnected.
AnyButtonWakesFromSleep: bool, default true. If true, any button will wake the VMU from sleep. If false, only the sleep button will do that.
Key and button mappings can be changed in Settings -> Keyboard Config / Gamepad Config.
Building
Install a .NET SDK 9 matching the version in global.json.
Easiest: install dotnetup, then run dotnetup in this folder.
Alternatively: download and run .NET SDK from Microsoft's website.
Copy your american_v1.05.bin VMU ROM into src/DreamPotato.Core/Data/.
Build everything: dotnet build.
Run the emulator: dotnet run --project src/DreamPotato.MonoGame.Desktop.
Run tests: dotnet test
Project Overview
Under src/:
DreamPotato.Core is where the emulator implementation resides.
DreamPotato.Tests includes unit tests for the emulator implementation.
DreamPotato.MonoGame is most of the front-end, including UI and config file handling.
DreamPotato.MonoGame.Desktop is the desktop (Windows/macOS/Linux) application.
dreampotato-vscode is the VS Code extension--in very barebones/"alpha" state.
Currently, it contains only a TextMate grammar for LC86k assembly.
Why write a new emulator?
The biggest reason was: I was interested in timing-based luck manipulation in Pinta's Quest, which requires emulating the game at a very similar speed to real VMU hardware. I found that existing emulators did not run the game at a similar enough speed to real hardware to allow the same timings to work. I thought that writing a new emulator from scratch would be a good way to learn the hardware well enough to get to the bottom of how to do that.
Acknowledgements
Thanks to the following individuals, whose invaluable work on VMU emulation and reverse engineering helped make DreamPotato possible.