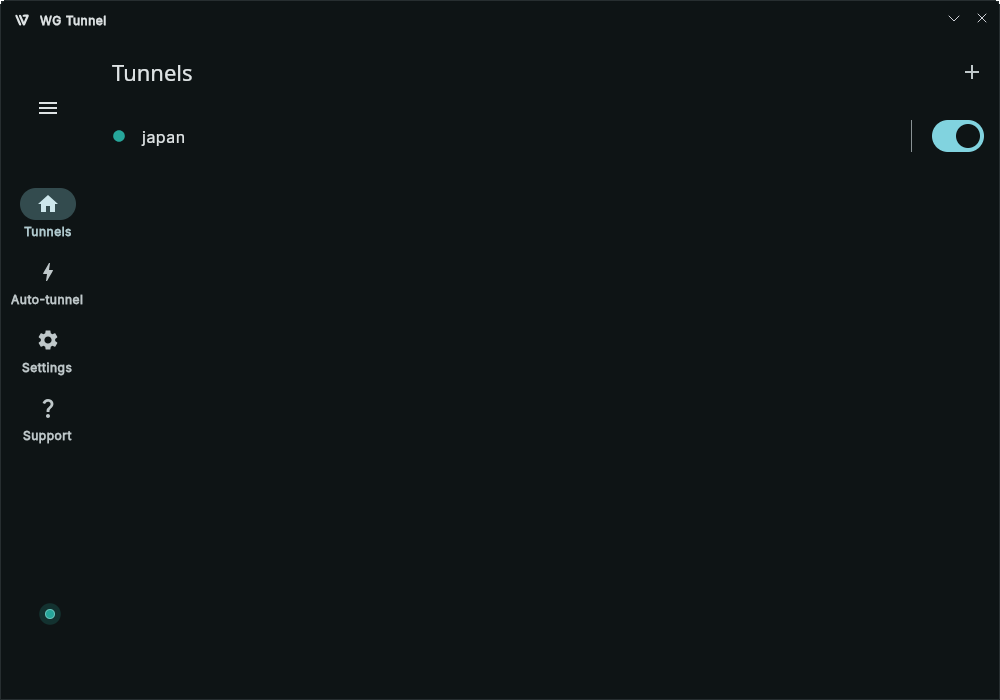
WG Tunnel - Desktop
Table of Contents
About
WG Tunnel is an alternative desktop client for WireGuard and AmneziaWG that brings the
Android app's feature set to the desktop.
Supported Platforms
- Windows
- Linux
- macOS - not yet supported, but planned for a future release.
Features
This app shares its tunnel/DNS/recovery engine with the
Android app, so most android feature apply here too:
- Auto-Tunneling: Automatically activate tunnels based on the machine's active network details.
- Deferred Endpoint Bootstrapping: Safely resolves endpoints and updates peers after the tunnel is up for better reliability and leak protection on startup.
- Handshake Monitoring: Real-time handshake monitoring for instant tunnel health feedback.
- AmneziaWG Support: Full support for AmneziaWG 2.0 through 3.1, providing robust censorship protection.
- Split & Encrypted DNS: Resolve DNS through the tunnel using plain DNS, DoT, or DoH, and optionally split by domain suffix (tunnel or system).
- Local Proxy Mode: Expose WireGuard tunnels over a local SOCKS5 or HTTP proxy to browsers or other apps.
- Kill switch: A system-wide, tunnel-independent, kill switch that blocks all traffic and is layerable on top of either mode.
- Dynamic DNS Handling: Automatically detect and update endpoints on server IP changes without requiring a restart.
- IPv6 Endpoints: Automatically upgrade to IPv6 endpoints or fall back to IPv4 based on network conditions without requiring a restart.
Desktop-specific:
- Native Application: Ships as a GraalVM native image (not a JVM/Electron style app) for fast startup and a low memory footprint.
- System Service Daemon: The tunnel runs as an independent system service, so it keeps running (and enables restore on boot features) even when the GUI is not.
- Kill switch & Tunnel Restoration on Boot: Reapplies the kill switch and reconnects the last active tunnel automatically after a reboot.
- Encrypted At Rest: Tunnel configs and other sensitive data are stored encrypted (AES-256-GCM) in the local database while the encryption key lives in the OS keychain/credential store.
- Tunnel Management: Import, export, editing, live statistics (including uptime and, in Local Proxy mode, the active proxy address/auth status), and sorting.
- System Tray Integration: Minimize to tray with a live status badge.
- App Updater: In-app updater and update notifications (only for
.deb/.rpm and Windows installs).
Deferred Endpoint Bootstrapping
Most WireGuard clients resolve peer endpoints before bringing the tunnel up. This has several drawbacks:
- If resolution fails or is slow (a flaky network, a DNS hiccup, a blocked resolver) the tunnel
simply doesn't come up, and there's no protection until it does.
- During that resolution window, you're leaking until resolution completes successfully.
WG Tunnel splits these apart and removes peer resolution from the critical path. The TUN interface,
routes, and firewall rules come up first, prioritizing user protection. Peer endpoint resolution then
happens separately, in the background, retrying indefinitely until it succeeds.
This has significant benefits:
- Immediate protection: The user is protected the moment the tunnel is toggled on, regardless of
whether or when endpoint resolution succeeds. This dramatically reduces a leak window that other clients
suffer from.
- Reliability: The tunnel never fails to come up because of a flaky network or
resolution failures. The tunnel is already up and blocking traffic while DNS keeps retrying in the
background until it connects.
Installation
Windows
> [!WARNING]
> Before installing v2.x.x and greater on Windows, it is required to uninstall the v1.x.x if you have it installed. The architecture
> of the app has changed significantly in the latest version and requires the old version to be removed.
> [!NOTE]
> Requires Windows 10 version 1803 (build 17134) or later for UDS support. The installer checks this and will refuse
> to install on an older build.
- Download the Windows installer (
.exe) from the latest release.
- Run the installer. Accept the Admin rights prompt (UAC) so the daemon can be installed as a system service.
- Launch the app.
Also available on Chocolatey:
choco install wgtunnel
Linux
> [!NOTE]
> The firewall must use nftables or iptables with the nft backend (iptables-nft). On systemd-based
> distros the daemon starts automatically at boot. On other init systems, it installs but needs to be
> started manually or integrated with your init system (see the note printed after install).
> [!Note]
> Direct installations from GitHub releases for .deb and .rpm packages can use the in-app updater while .pacman and tarball direct installs
> will require manual updates.
Debian / Ubuntu
Preferred method - via our apt repository (for package manager updates):
curl -fsSL https://apt.wgtunnel.com/wgtunnel-archive-keyring.asc | \
  sudo gpg --dearmor -o /usr/share/keyrings/wgtunnel-archive-keyring.gpg
echo "deb [signed-by=/usr/share/keyrings/wgtunnel-archive-keyring.gpg] https://apt.wgtunnel.com stable main" | \
  sudo tee /etc/apt/sources.list.d/wgtunnel.list
sudo apt update
sudo apt install wgtunnel
Or, download the .deb directly from the latest GitHub release:
sudo apt install ./wgtunnel*.deb
Fedora / RHEL
Preferred method - via COPR (for package manager updates):
sudo dnf copr enable zaneschepke/wgtunnel
sudo dnf install wgtunnel
Or, download the .rpm directly from the latest GitHub release:
sudo rpm -Uvh wgtunnel*.rpm
Arch Linux
Preferred method - via AUR (for package manager updates):
> [!Note]
> Per Arch packaging guidelines, the installation does not enable or start the daemon for you. You will
> need to start the daemon yourself after install.
yay -S wgtunnel-bin
Or, download the .pacman directly from the latest GitHub release:
sudo pacman -U wgtunnel*.pacman
Then, enable and start the daemon:
sudo systemctl enable --now wgtunnel-daemon.service
Other distros (.tar.gz)
Use this only if none of the formats above fit your distro. The tarball bundles its own
install.sh / uninstall.sh (the same install location the .deb/.rpm/.pacman packages use
under the hood). On systemd-based systems it also enables and starts the daemon automatically.
On other init systems, the daemon is installed but needs to be started manually (the script prints
the exact command). See packaging/linux/tar-install.sh in the source repo if you want to see the
source script:
tar -xzf wgtunnel*-linux-x64.tar.gz
cd wgtunnel*-linux-x64/
sudo ./install.sh
To update, just run sudo ./install.sh again from a newer tarball. It copies over the
existing install and restarts the daemon. To remove it entirely: sudo /opt/wgtunnel/uninstall.sh.
Removing saved data
Uninstalling normally leaves your saved tunnels, settings, and logs in place, so a reinstall picks
up where you left off. To wipe everything:
None of these clear the saved secret in your OS keyring (service wg_tunnel). You will need to
remove that yourself with your keyring manager.
> [!Note]
> Snap, Flatpak, and AppImages are not shipped and there is no plan currently to add them. They
> simply are not a good fit for the app due to their sandboxing limitations.
Development
Requirements
- Toolchains pinned in
.mise.toml (JDK, Node, Go, .NET) - installed for you by mise install below.
- A C toolchain for the host platform.
- MinGW-w64 (
x86_64-w64-mingw32-gcc)
Run locally
# once per machine
curl https://mise.run | sh
mise trust
mise install
Start the daemon - it needs elevated privileges to manage routes/firewall, so use the dev
script.
./scripts/dev-run-daemon-linux.sh
Then, in another terminal, run the GUI:
./gradlew :composeApp:run
Contributing
Any contributions in the form of feedback, issues, code, or translations are welcome and much
appreciated!
If your PR requires core changes, please link the associated PR.